As a mom, there is one thing I’m pretty clear about.
And that is this: there’s a lot I don’t know. Like…how do you prevent your toddler from putting pealed bananas in the toaster when you step out of the kitchen for more than 90 seconds? And then, how do you clean out that toaster that is now caked in burnt banana goo? (I wish that was hypothetical. So really, if you have any thoughts or suggestions on this, you can leave comments. Please.)
But with a two-year-old and a one-month-old, both in diapers, there is one thing I know quite well. And that is bodily fluids. (Is that an awkward thing to say? Yes, yes it is.) One other thing to cushion my credibility: that toddler spit-up so much as a baby that we really didn’t know how he was such a cute little chunk.
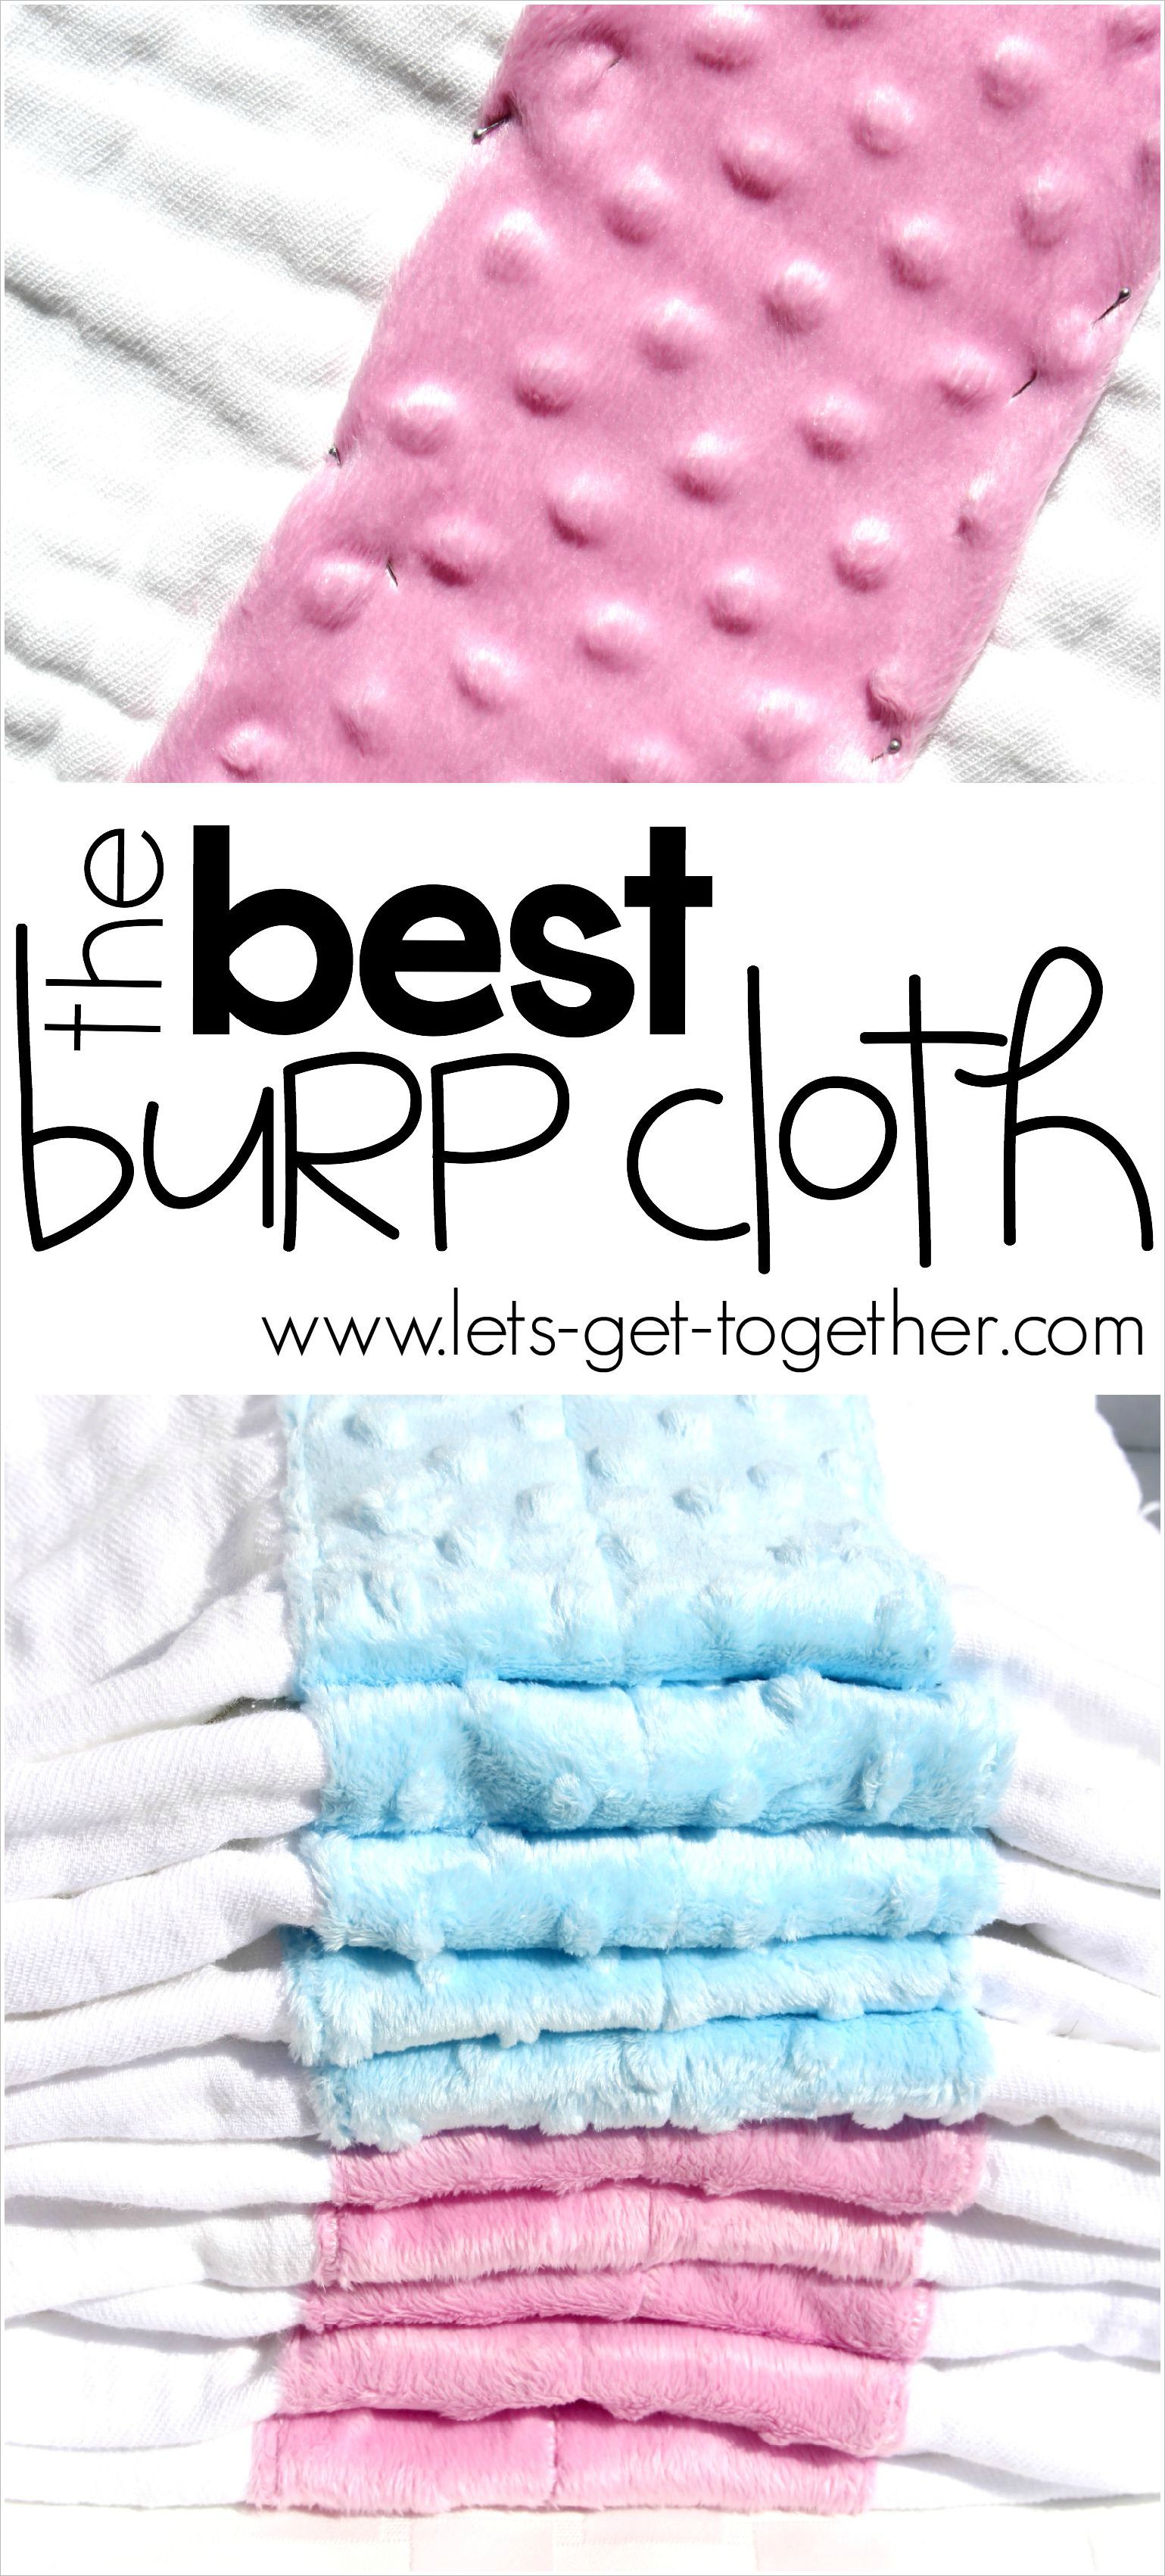
So, my friends, when I tell you that I’ve found a pretty special burp cloth, you can trust me.
These are super absorbent, they wash well (don’t fade or pill!), and they’re easy to make. Mom made a set of these for each of us before the babies started arriving, and we all agree: they’re our favorite burp cloths!
Still don’t believe me? Just look at this smile…

And while I didn’t make these, I feel mildly confident saying even I-the non-sewer-could make these. So here’s what you need and how to do it…
Items needed to make 10 burp cloths:
- 2 packages of Gerber 5 Count Heavyweight Gauze Prefold Cloth Diapers
- 1/2 yard minky fabric 58/60” (I bought mine at Wal-Mart. It doesn’t have to be the expensive kind because you’re only using a small strip of it.)
- Thread to match your minky fabric
- Pins
- Scissors
- Sewing machine
How to make them:
- Prewash and dry the cloth diapers and minky fabric.
- Cut strips of minky fabric to 5×18”.
- Put right side of minky fabric strip on top of diaper, centering it. Fold edges of minky over 1/4- 1/2” on all four sides and pin. The edges should line up on the top and bottom of the diaper. Topstitch around all sides of the minky about 1/4″ from the edge of the cloth using a longer stitch to go through all the layers of cloth.
- Topstitch one line down the middle of the minky strip top to bottom. This keeps the fabric from bunching up after washing.
And there you have it. The best burp cloth for those unexpected spills when you’re out and about and for all of your other bodily fluid needs.
Natalie


I sure enjoyed holding that new one! You have a beautiful family!
I made some of those for Ali but didn’t use Minky! good idea! I will do that for the next 2 that are coming soon!!